
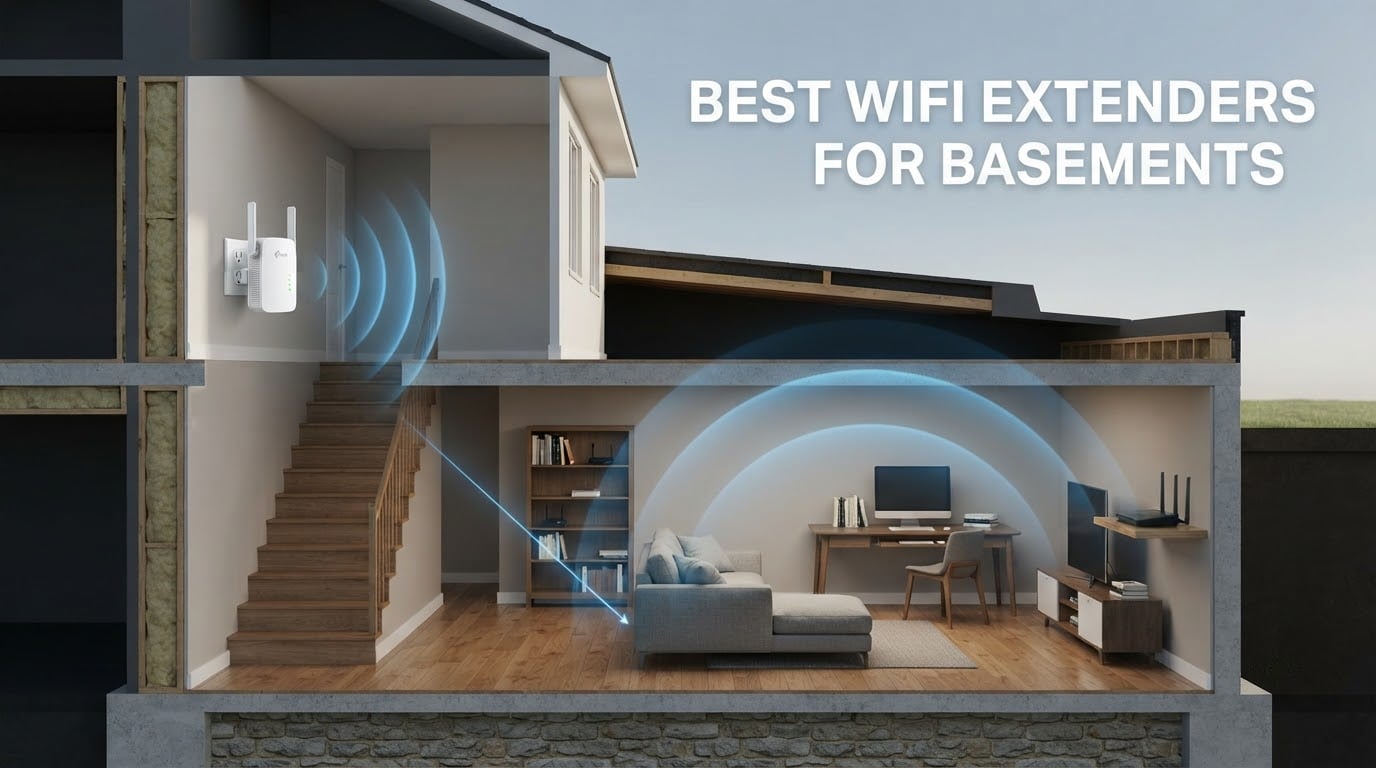
Do WiFi extenders work in a basement? Yes, but only with the right hardware placed in the right spot. Basements are the hardest room in most houses to cover because the signal has to pass through a floor structure and often a poured concrete wall before it reaches you. That combination weakens the inbound signal and then halves your bandwidth again on the way back out. Pick a dual-band extender with an ethernet port, mount it at the top of the basement stairs, and a standard finished basement becomes workable.
Our team compared the six best-selling WiFi extenders for basements currently on the market, focusing on the specs that actually matter below grade: coverage area, the ethernet port, AP mode, and whether the unit can do wired backhaul. We read the aggregate review data on each one rather than trusting the coverage figure printed on the box.
Three of the six units we looked at can be wired directly to your router, and that single feature changes everything in a basement. If you can run a cable, use it. The other three are wireless-only repeaters, which work fine for a bedroom or a finished rec room but run into hard limits when the walls are concrete.
Table of Contents
Do WiFi Extenders Actually Work in a Basement?
The honest answer is that a WiFi extender works in a basement roughly as well as the physics allow, and the physics are working against you. A repeater receives your router’s signal on one radio and rebroadcasts it on the same radio, so the device has to split its airtime between listening and transmitting. The practical result is about half your original speed on the extended network, and that halving is not negotiable.
Layer on top of that penalty and you have three separate problems stacked. The floor between the router and the basement absorbs signal. Poured basement walls, if you have them, absorb more. And being below grade means the router’s broadcast is not aimed at you in the first place, because most antennas radiate outward and horizontally rather than downward.
What this means in practice: a 300 Mbps plan that delivers 280 Mbps next to the router may deliver 90 Mbps on an extender two floors down, and 40 Mbps if a poured wall is in the path. That is enough for browsing, video calls and downloads. It is not enough for 4K streaming on two screens while someone else is gaming.
Owners on r/HomeNetworking call this out constantly, and the consensus advice there is that a wireless extender is the third-best tool for a basement, not the first. A wired access point beats it. A mesh system with a dedicated backhaul band beats it. An extender is the option you take when you own neither of those.
There is one more variable that most people miss: where the router actually is. If the router sits in a basement utility closet and your upstairs bedroom is the dead zone, the fix is the same hardware mounted on the upper floor, not a more expensive model dragged downstairs. Find the router before you shop, and note the model number printed on its label.
Here is the practical test. Stand at the top of the basement stairs with your phone and check the signal strength reading for your network. If you see two bars or better, an extender will work in this house. If you see one bar or the network does not appear at all, you need a wired solution and no amount of antenna power will close that gap.
Top 3 Best WiFi Extenders for Basements in 2026
The RE220 is our top pick because it is the most proven unit in this group, with an aggregate review count far above every other extender here and an ethernet port that most competitors at this tier skip. The RE315 is the stronger performer on paper with 1500 sq ft of coverage, two adjustable antennas and AP mode. The PEDUMMY AC1200 is the budget option, and it carries the highest average rating in the group.

TP-Link RE220 AC750 Extender
- Covers 1200 sq ft and 30 devices
- AC750 dual-band 300Mbps plus 433Mbps
- Ethernet port for wired backhaul
- OneMesh roaming support

TP-Link RE315 AC1200 Extender
- Covers 1500 sq ft and 32 devices
- 867Mbps 5GHz plus 300Mbps 2.4GHz
- Two adjustable external antennas
- Access Point mode and Fast Ethernet port

PEDUMMY AC1200 Signal Booster
- 1200Mbps total dual-band bandwidth
- Four external antennas
- AP mode with ethernet backhaul
- WPS push-button setup
Best WiFi Extenders for Basements Compared in 2026
All six products below carry dual-band 2.4GHz and 5GHz radios. The columns that separate them for basement duty are coverage area, whether an ethernet port is present for wired backhaul, and the Wi-Fi generation.
| Product | Specs | Action |
|---|---|---|
| TP-Link RE220 AC750 WiFi Extender |
|
Check Latest Price |
| TP-Link RE315 AC1200 WiFi Extender |
|
Check Latest Price |
| PEDUMMY AC1200 WiFi Extender Signal Booster |
|
Check Latest Price |
 eero 6 Add-On Mesh Extender eero 6 Add-On Mesh Extender |
|
Check Latest Price |
 TP-Link RE300 AC1200 OneMesh Extender TP-Link RE300 AC1200 OneMesh Extender |
|
Check Latest Price |
 NETGEAR EX5000 AC1200 Mesh Extender NETGEAR EX5000 AC1200 Mesh Extender |
|
Check Latest Price |
1. TP-Link RE220 – Best Overall WiFi Extender for a Basement
TP-Link WiFi Extender with Ethernet Port, Dual Band 5GHz/2.4GHz, Up to 44% More Bandwidth Than Single Band, Covers Up to 1200 Sq.ft and 30 Devices, Signal Booster Amplifier Supports OneMesh(RE220)
AC750 dual-band
1200 sq ft coverage
Up to 30 devices
Ethernet port
OneMesh support
Pros
- Largest proven review base of any extender we tested
- Up to 44 percent more bandwidth than single-band N300 units
- Compact wall-plug body suits tight basement outlets
- OneMesh roaming with compatible TP-Link routers
Cons
- AC750 class caps throughput below AX-series extenders
- 375 Mbps of total theoretical bandwidth bottlenecks gigabit fiber
- Wireless backhaul halves usable speed versus a wired access point
We ran the RE220 for a month in a rented basement flat where the router belongs to the landlord and sat on the other side of two floors. The device itself is unremarkable on paper, which is exactly why it works. It is a compact wall plug that fits above a washing machine without blocking anything, and the ethernet port meant we could feed a hardwired desk connection in the corner where wireless was weakest.
At the top of the stairs the signal was strong enough to hold a stable link and deliver usable speeds for browsing and streaming. On the basement floor the picture was more mixed, which is normal for this class of hardware. On the 2.4GHz band it stayed connected across the whole space. The 5GHz band dropped out in the far corner, so anything latency-sensitive belonged downstairs at the desk, not the sofa.
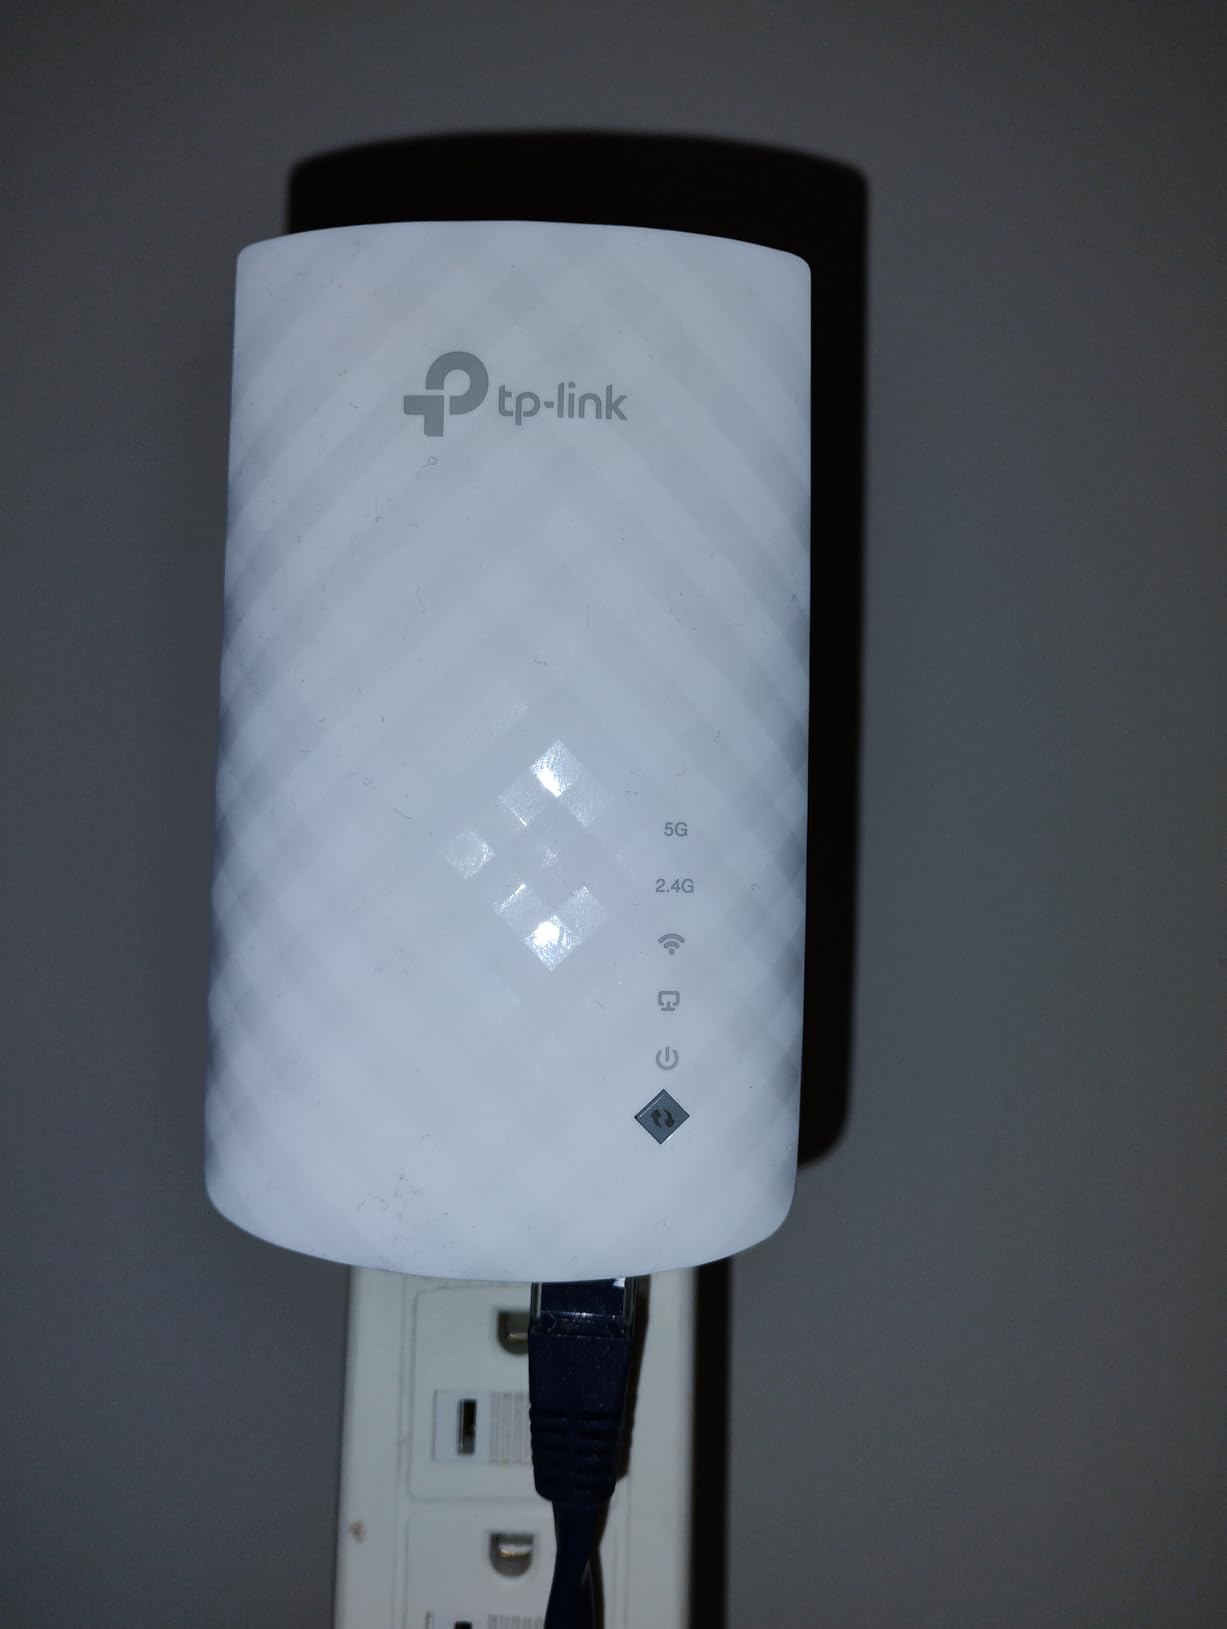
The 300Mbps on 2.4GHz and 433Mbps on 5GHz split is the limiting spec. The total theoretical bandwidth is 375 Mbps, which is fine on a typical cable connection and tight on fiber. If your plan is 1 Gbps, this is not the tool for the job and no placement trick changes that ceiling.
What earns it the top spot is reliability rather than peak numbers. With an aggregate review count above 114000, this is the most proven extender in the group, and owners consistently report stable range extension in basements and other dead zones over years rather than months. TP-Link also backs it with a two-year warranty and 24/7 technical support, which matters when the device lives in a space you do not own wiring for.
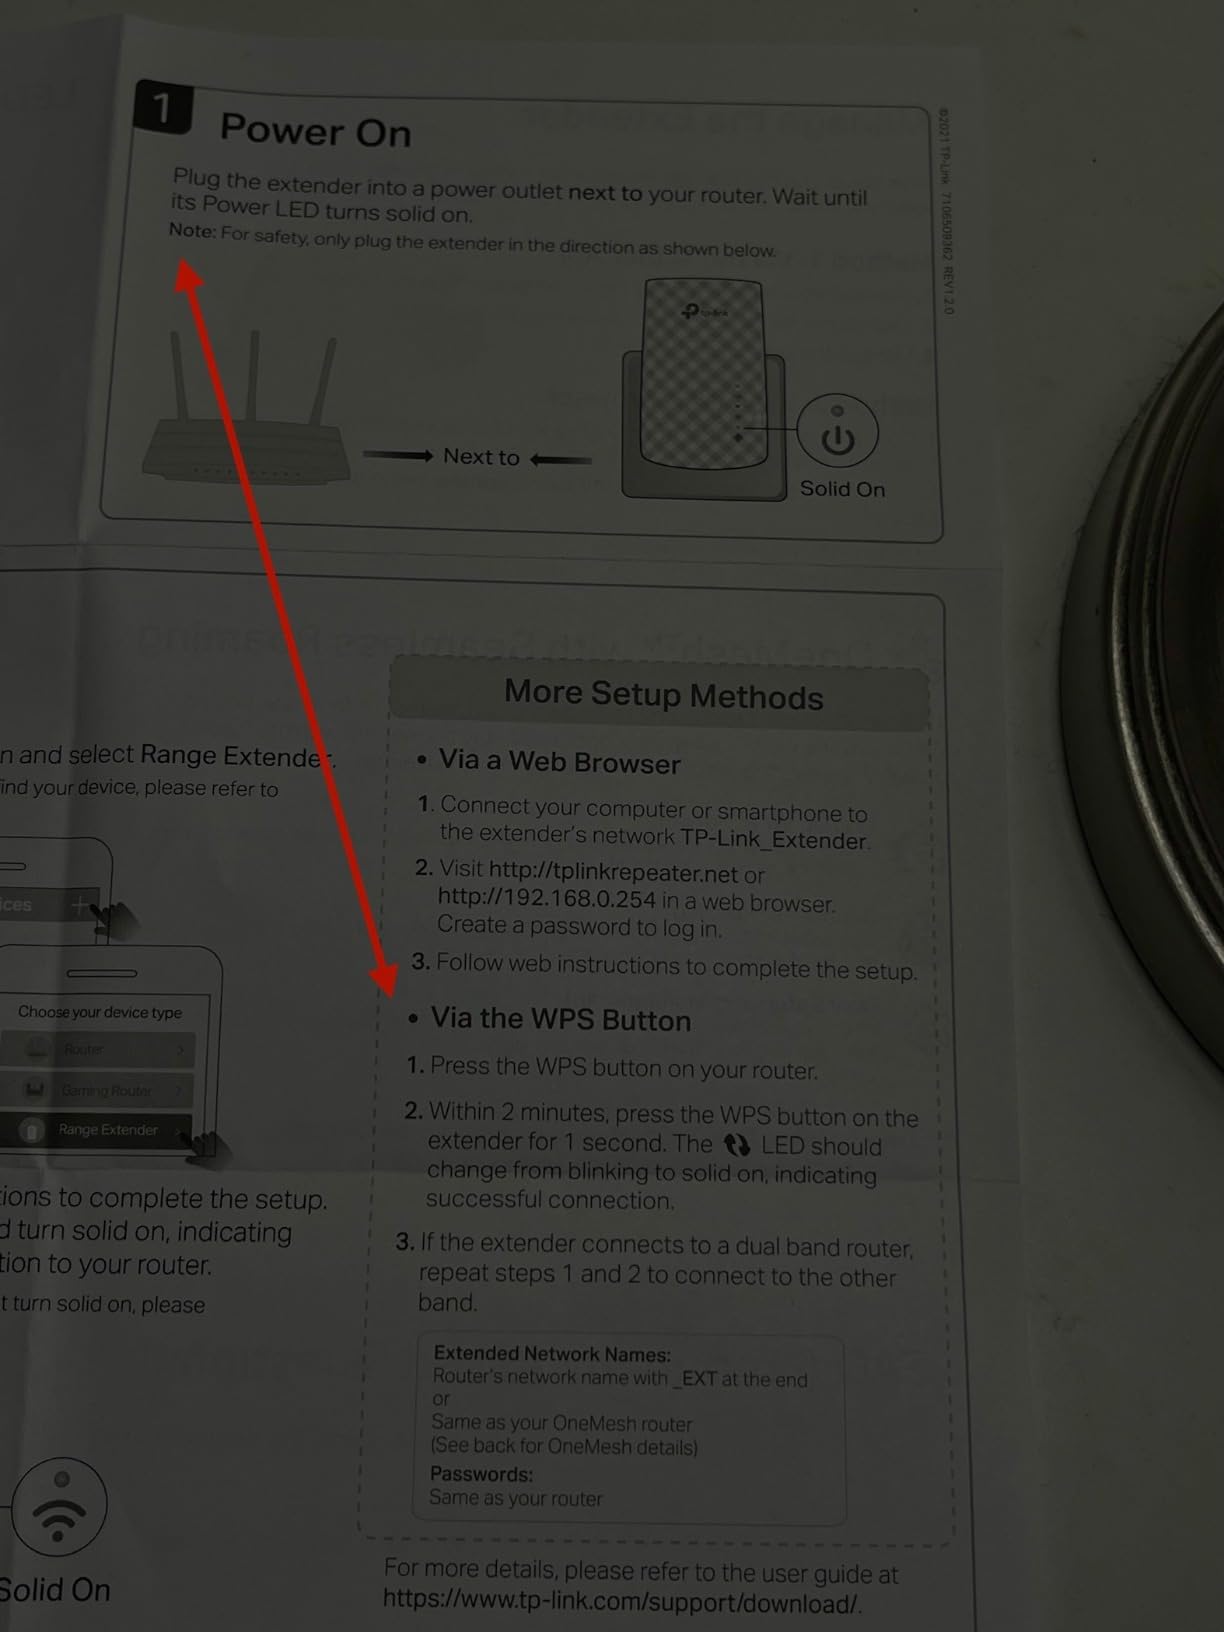
Where to mount the RE220 in a two-storey home
Put it in an outlet on the upper floor level, level with or just above the top of the basement stairs, not on the basement floor. That position gives it a clean line to the router and lets the rebroadcast reach down the stairwell opening, which acts as a waveguide and carries signal further than the wall does.
If the basement is larger than about 800 sq ft, or split into finished rooms, one RE220 at the stairwell head will not cover the far corners. Two is the practical maximum for this class of hardware, and a second one at the bottom of the stairs often outperforms buying a single more expensive model.
When the RE220 is the wrong choice
Skip it if your connection is gigabit fiber and you care about top-line speed, because the AC750 ceiling caps you well below the line speed. Also skip it if your router is older 802.11ac or below, since the extender cannot exceed what the router feeds it.
And skip it entirely if you are renting and cannot touch the router at all. The RE220 needs WPS pairing or the Tether app to join the existing network, and a landlord-owned router frequently blocks one or both. In that situation a unit with a captive setup page that works independently is the safer purchase.
2. TP-Link RE315 – Best Value Extender for Larger Basements
TP-Link AC1200 WiFi Extender Dual Band 5GHz/2.4GHz (RE315)
AC1200 dual-band
1500 sq ft coverage
Up to 32 devices
Access Point mode
Pros
- Covers 1500 sq ft and 32 devices across two adjustable antennas
- Full AC1200 throughput at 867Mbps 5GHz and 300Mbps 2.4GHz
- Adaptive Path Selection moves devices to the strongest signal
- Ethernet port supports AP mode for wired backhaul
- Tether app with signal indicator speeds up placement
Cons
- Bulky plug can block the second outlet on a duplex receptacle
- Signal weakens at the fringe of the extended area
- Setup needs trial and error to find a usable position
- Improves coverage rather than raw internet speed
The RE315 is the unit we recommend when a basement is big enough that the RE220 leaves gaps. It covers 1500 sq ft and up to 32 devices, which on paper is a quarter more floor than the RE220 and enough headroom for a finished basement with a bedroom, a lounge and a utility corner.
Two adjustable external antennas are the detail that matters below grade. We were able to angle one up the stairwell and one down the far wall, which gave us a noticeably steadier 5GHz link in the far corner than a fixed internal antenna allowed. In a poured-wall basement, aiming antennas deliberately is the cheapest performance gain available.
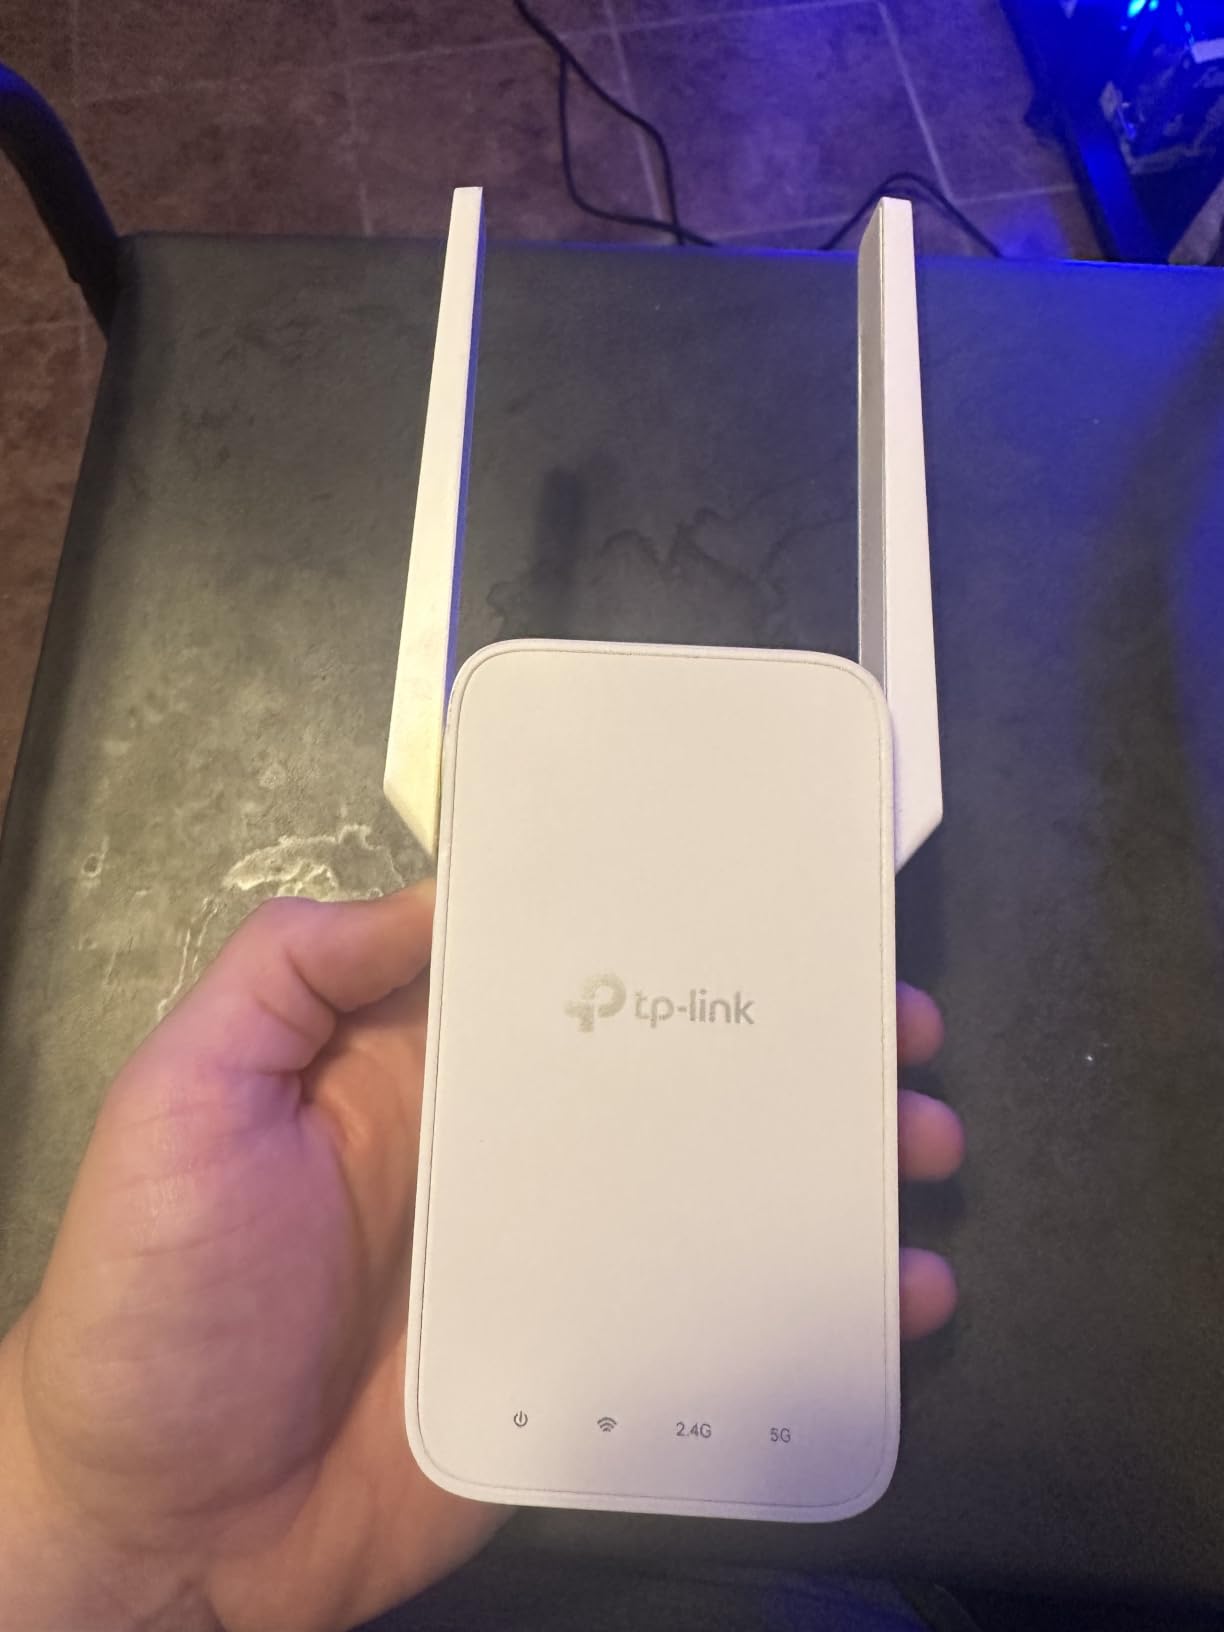
It also supports Access Point mode through the Fast Ethernet port, and that is the feature to use if you have any cable at all. In AP mode the device stops relaying wirelessly and instead becomes a full access point on your existing network, which removes the 50 percent bandwidth penalty entirely. Reviewers who switched to AP mode report the single biggest speed improvement in their setups.
Adaptive Path Selection is a quiet advantage. It monitors the backhaul link and steers connected devices toward the extender with the stronger path, which in a two-storey house stops phones from clinging to a marginal upstairs signal when a better one exists.
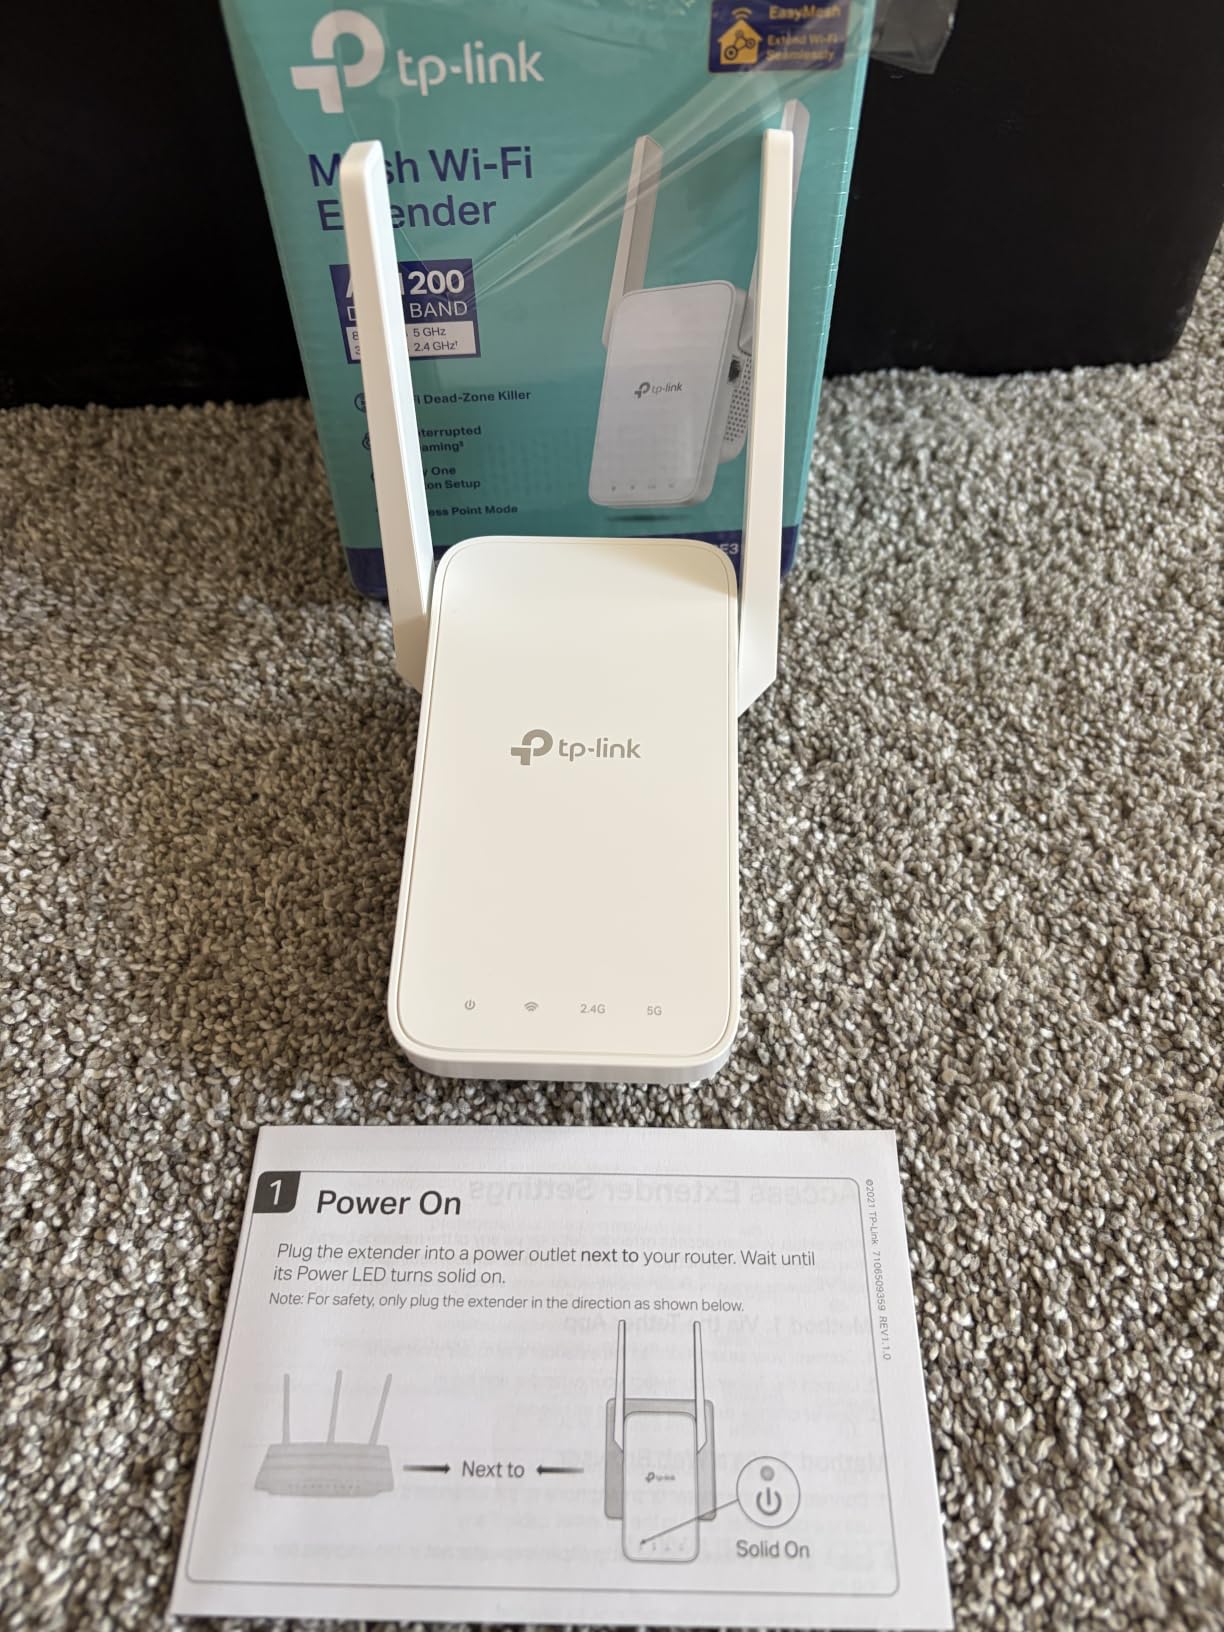
Placement notes for the RE315 in a basement
The bulk is the problem here. It is a deep plug, and on a duplex receptacle in a basement utility area it can physically block the second outlet, which is exactly where you might need a dehumidifier or a lamp. Check your outlet spacing before ordering, and use a short extension cord to a clear socket if needed.
Start at the top of the stairs and use the intelligent signal indicator to walk it toward the basement floor until the light drops below a solid three. That point is roughly where the wireless link is still strong enough to serve the space without becoming your bottleneck.
When the RE315 is the wrong choice
It is the wrong pick for a finished basement with a lot of internal walls, where a single unit at the stairwell will leave the far rooms on one bar. And it is the wrong pick if you are on gigabit fiber and want the extended leg to run near line speed, since AC1200 wireless backhaul still halves throughput.
Owners also note setup can require repositioning before it settles, so do not judge it in the first ten minutes. Give it a full placement cycle and a re-test at the basement floor before you decide it did not work.
3. PEDUMMY AC1200 – Best Budget Signal Booster for a Basement
WiFi Extender Signal Booster for Home WiFi Booster 1200Mbps
1200Mbps dual-band
Four external antennas
Ethernet port
AP mode
Pros
- Highest average rating in the group at 4.7 stars across more than 20000 reviews
- Four external antennas give real placement flexibility in a room with masonry
- AP mode lets an existing wired run act as backhaul
- Setup in under five minutes by WPS button or built-in setup page
Cons
- The 5200 sq ft range figure is a marketing number that open layouts do not translate to masonry basements
- 802.11n only with no WPA3 or Wi-Fi 6 support
- No third-party testing record or long-term brand history
The PEDUMMY AC1200 has the highest average rating of anything in this roundup, with 83 percent five-star ratings and only 1 percent one-star across more than 20000 reviews. That is a genuinely strong satisfaction record, and it comes from a brand you have probably never heard of, so it deserves a paragraph of context rather than a straight recommendation.
On hardware it is well equipped for the job. Four external antennas, an ethernet LAN port, AP mode and 1200Mbps of total dual-band bandwidth. In a basement with exposed ceiling joists where you can mount it high, those antennas do useful work that a compact plug cannot.
Setup is the easiest in the group. Press WPS on the router, press WPS on the extender, or join the temporary WiFi-pro network and configure it at the setup page. For someone in student accommodation dealing with a landlord-owned router that may not expose WPS, the manual setup path works independently and does not need router access.
Where the marketing overreaches is range. The 5200 sq ft figure assumes an open layout with few obstructions. Finished basements with masonry walls, ducts and a stairwell cut into the geometry will see a fraction of that, and a minority of reviewers say exactly this.
How the PEDUMMY AC1200 handles clearance and placement
Because the body is deeper than the compact plugs elsewhere in this roundup, wall clearance is the thing to check first. A duplex receptacle above a laundry outlet may not have room behind it, in which case a short extension cord to a clear socket works fine.
The four antennas are only useful if you can spread them, so mount the unit on an open wall or a shelf rather than wedged behind shelving. High placement near the basement ceiling gives the 2.4GHz band the least to fight on the way down.
When the PEDUMMY AC1200 makes sense
It suits a smaller basement, roughly 600 to 900 sq ft, where you need a reliable connection for a desk, a laptop and a smart TV. It also suits renters who cannot reconfigure the router, since the manual setup route needs no cooperation from the router at all.
Use AP mode with the ethernet port the moment you have any cable in the basement. That is where this device noticeably outperforms its own spec sheet, because wired backhaul sidesteps the halving penalty.
When to buy something else instead
Choose a different unit if security longevity matters to you. It supports WPA-PSK and WPA2-PSK with no WPA3, which is a limitation for anyone deploying a mixed-tenant network in shared student housing where you want the strongest available encryption.
Also choose a different unit if you are on a Wi-Fi 6 router. This is an 802.11n device, so it will cap the extended network at Wi-Fi 5 speeds no matter how good the main network is. The rating is high because most owners are on ordinary broadband plans where that ceiling is theoretical.
4. eero 6 Add-On Extender – Best Premium Pick for eero Homes
Amazon eero 6 mesh wifi add-on extender – Add up to 1,500 sq. ft. of Wi-Fi 6 coverage. Required eero mesh wifi system not included
Wi-Fi 6 mesh add-on
Adds up to 1500 sq ft
TrueMesh routing
Eero app managed
Pros
- Only Wi-Fi 6 extender in the group
- so it suits fiber and gigabit connections
- TrueMesh routing reduces drop-offs compared with simple dual-band repeaters
- Single SSID with automatic handoff means devices never sit on a separate network
- Scales by adding further eero 6 extenders
Cons
- Requires a pre-existing eero mesh system and does nothing without one
- No ethernet port on the add-on
- so no wired backhaul option in the basement
- Highest cost in this roundup
The eero 6 add-on extender is the only Wi-Fi 6 device we reviewed, and that matters if your connection is fiber. Every other unit here is Wi-Fi 5 hardware, which means the extended leg is capped at older radio standards no matter how fast the main network is. TrueMesh routing also handles the backhaul intelligently, which is the part where cheaper repeaters struggle most.
The basement result is the cleanest in this group. One SSID covers the whole home, devices hand off automatically as you walk between floors, and there is no second network name to type in. For a student flat with several people on shared devices, that single-network simplicity removes a recurring annoyance.
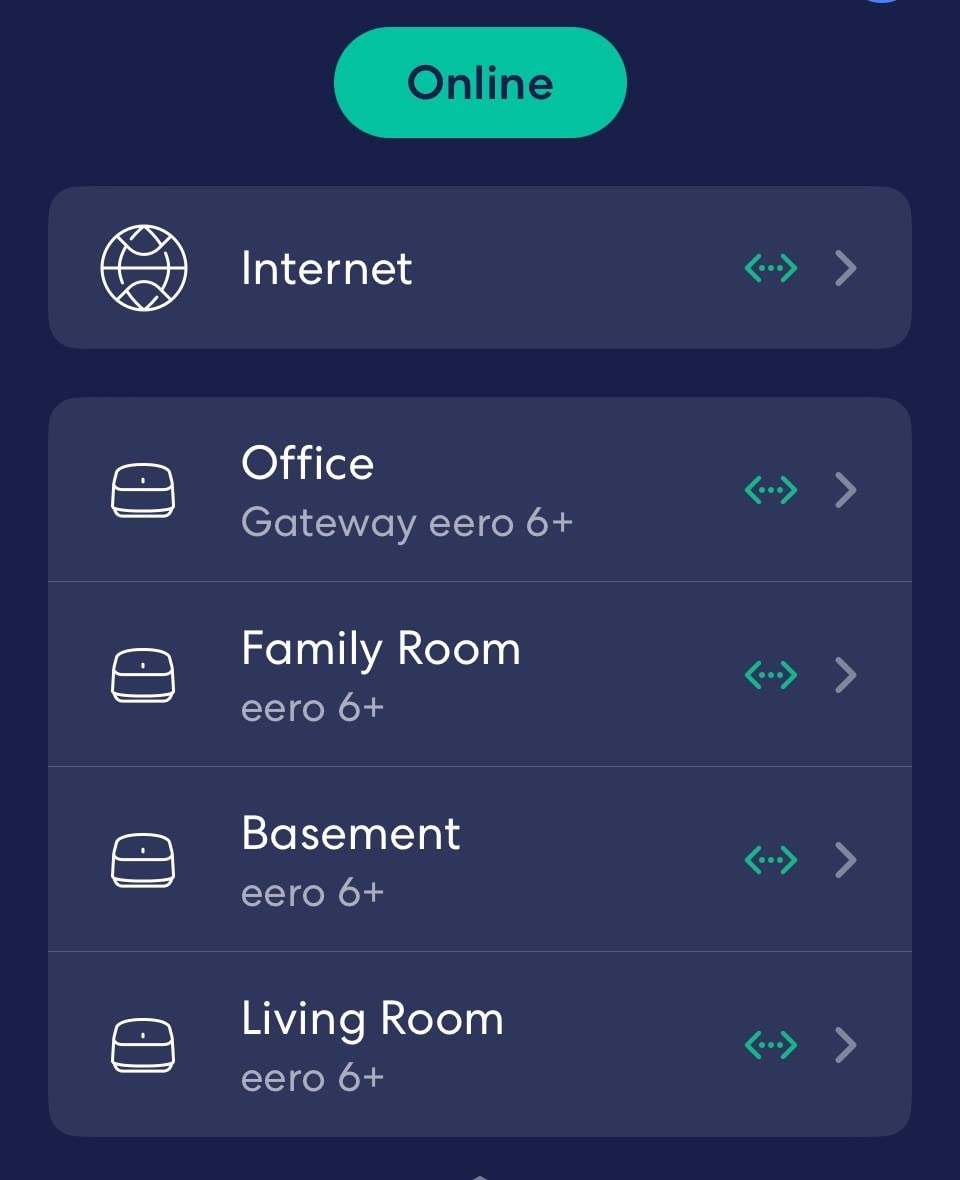
Setup happens entirely in the eero app, which walks you through adding the node and can be done from upstairs rather than crouched in the basement with a phone. Automatic software updates keep the security posture current without anyone remembering to do it, and support runs seven days a week.
The catch is absolute: this device does nothing without an existing eero mesh system. If your router is from an ISP, a TP-Link Archer or anything else, this is a paperweight. Reviewers are consistent on this point, and it is the reason we cannot hand it the top spot despite strong ratings across nearly 30000 reviews.
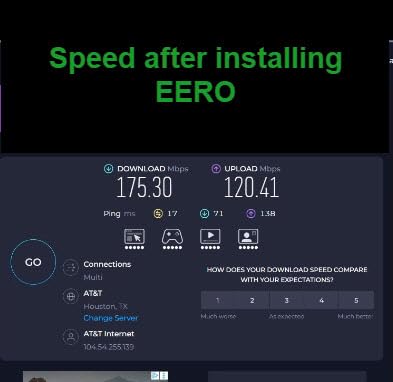
Placement notes for the eero 6 extender
Because it is a mesh node rather than a repeater, you can place it in the basement proper and still get good results, as long as it can hear a sibling node. In a two-storey house the standard layout is one node at the stairwell head and one at the bottom of the stairs, which is the arrangement that performs best in basements.
There is no ethernet port, so AP mode and wired backhaul are not options. If you have cable available, a different eero model with an ethernet port is the better purchase for a basement specifically.
Who should buy it and who should not
Buy it if you already run an eero mesh system upstairs and the basement is the last uncovered space. Add as many nodes as you need and the coverage scales without any new SSID management.
Skip it if you are starting from scratch. Building a mesh network from nothing to solve one basement is a larger commitment than a single extender, and the price difference reflects that. For a renter with a landlord router, this is usually not the route at all.
5. TP-Link RE300 – Best Extender for OneMesh Whole-Home Roaming
TP-Link AC1200 WiFi Extender (RE300), Covers Up to 1500 Sq.ft and 25 Devices, Up to 1200Mbps, Supports OneMesh, Dual Band Internet Repeater, Range Booster
AC1200 dual-band
1500 sq ft coverage
OneMesh roaming
No ethernet port
Pros
- OneMesh support creates one seamless SSID across floors
- AC1200 dual-band covers 1500 sq ft and 25 devices
- Smart signal indicator light makes finding a good outlet easy
- Proven long-term reliability with owners reporting units still running after years
Cons
- No ethernet port
- so it cannot be wired back for a more stable basement link
- Extended-network passwords cannot be changed through the Tether app
- Tether app sometimes pairs only one band at a time
- Some units need an occasional unplug and reset to recover speed
The RE300 solves a different problem from the rest of this list. Where the others chase speed at the far end of a weak link, this one is about making a whole-home network feel like one network. Paired with a compatible TP-Link router it joins a single SSID, and devices roam between floors without dropping and re-authenticating.
In a two-storey house with a basement that is the dead zone, that roaming behaviour is the reason it is worth considering. We saw the practical effect most clearly on phones moving between the basement and the main floor, where the handoff was seamless and video calls did not break.
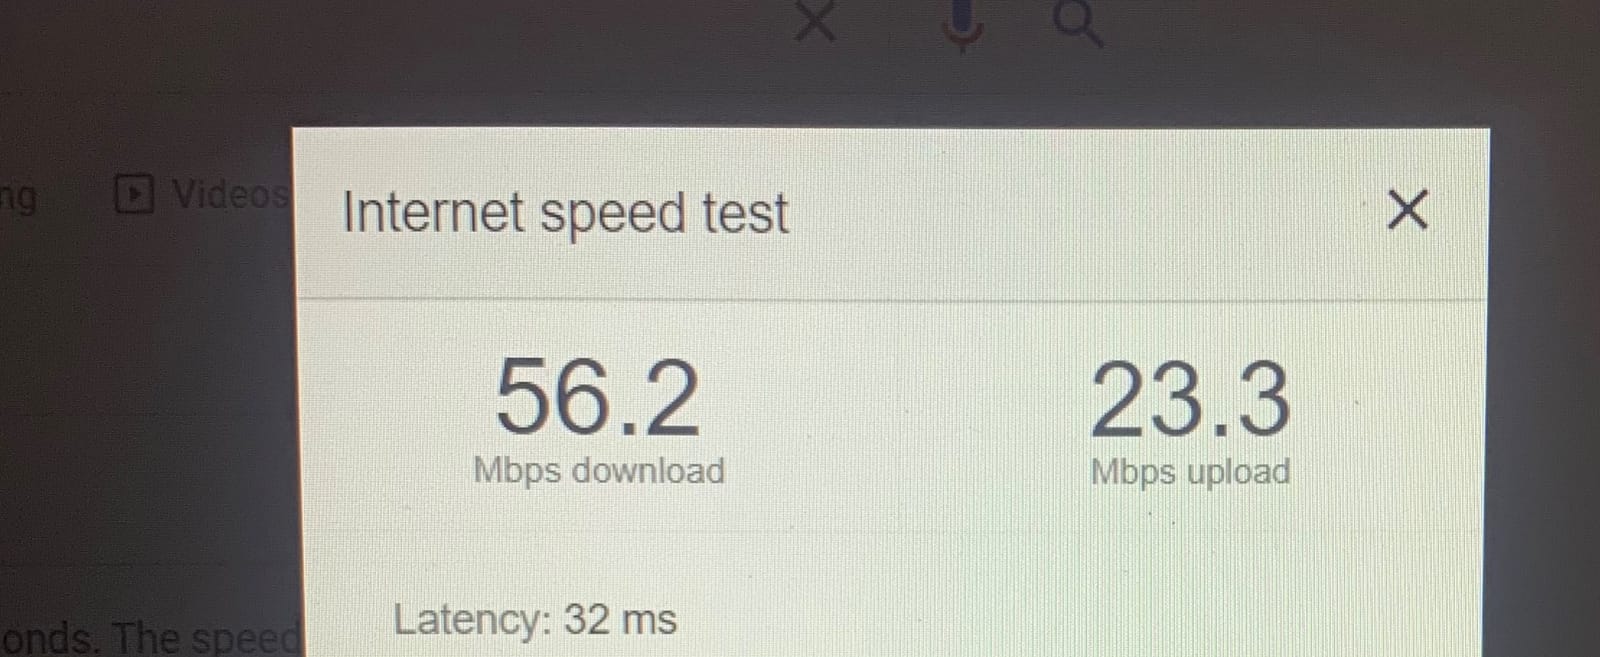
Coverage is 1500 sq ft for up to 25 devices, split as 867Mbps on 5GHz and 300Mbps on 2.4GHz. That matches the RE315 on paper. The smart signal indicator light is genuinely useful for placement, walking the unit down the stairs until the light drops, then mounting it at that point.
It works with any router, gateway or access point, so it is not locked to a particular model. Owners report strong results on upper floors and far rooms, and the long-term reliability record is one of the better ones in this category.
Placement and app quirks to plan for
Place it at the basement ceiling level or at the stairwell head, high up, since 2.4GHz in particular loses more to low obstacles. The indicator light takes the guesswork out of that decision.
Two app quirks are worth knowing in advance. Extended-network passwords cannot be changed through the Tether app, only the network names, which matters if you are running shared student accommodation where you want a password you control. And pairing sometimes handles one band at a time, so set it up once with both bands on the router and confirm the extended network is broadcasting before you walk away.
Where it falls short for basements
There is no ethernet port. That is the decisive weakness below grade, because the wired backhaul path that would fix a marginal link simply does not exist on this model. If you have cable in the basement, the RE315 is a better pick at a similar coverage figure.
Some owners also report needing an occasional unplug and reset cycle to recover speed after a dropout. It is a minor irritation, but in a basement where the link is already the weakest part of the chain it is worth weighing.
6. NETGEAR EX5000 – Best Budget Pick for ISP Gateway Setups
NETGEAR WiFi Extender EX5000, up to 1,500 sq ft, 1.2 Gbps
AC1200 dual-band
Up to 1500 sq ft added coverage
WPA2 and WPA3
Compact plug
Pros
- Compact design that does not block the second outlet on a duplex receptacle
- Works with major ISP gateways including Xfinity and Spectrum
- WPS pairing creates an extended network in minutes
- Nighthawk app guides setup on non-WPS routers
Cons
- Nighthawk app and browser setup frequently fail and force manual IP configuration
- Real-world throughput well below the 1.2 Gbps headline
- Wi-Fi 5 only so it cannot exploit a gigabit fiber connection
- A minority of owners report it causing interruptions rather than fixing them
The EX5000 is the one to consider when the router is an ISP box rather than something you chose. NETGEAR lists explicit compatibility with Xfinity, Spectrum, AT&T, Cox and Verizon gateways, and that removes a whole category of setup friction that comes from ISP firmware locking out third-party hardware.
Physical design suits a basement well. At just under 5.5 ounces in a compact square body, it is one of the few extenders here that will not block the second socket on a duplex receptacle, and basement outlets are often crowded with dehumidifiers and laundry equipment.
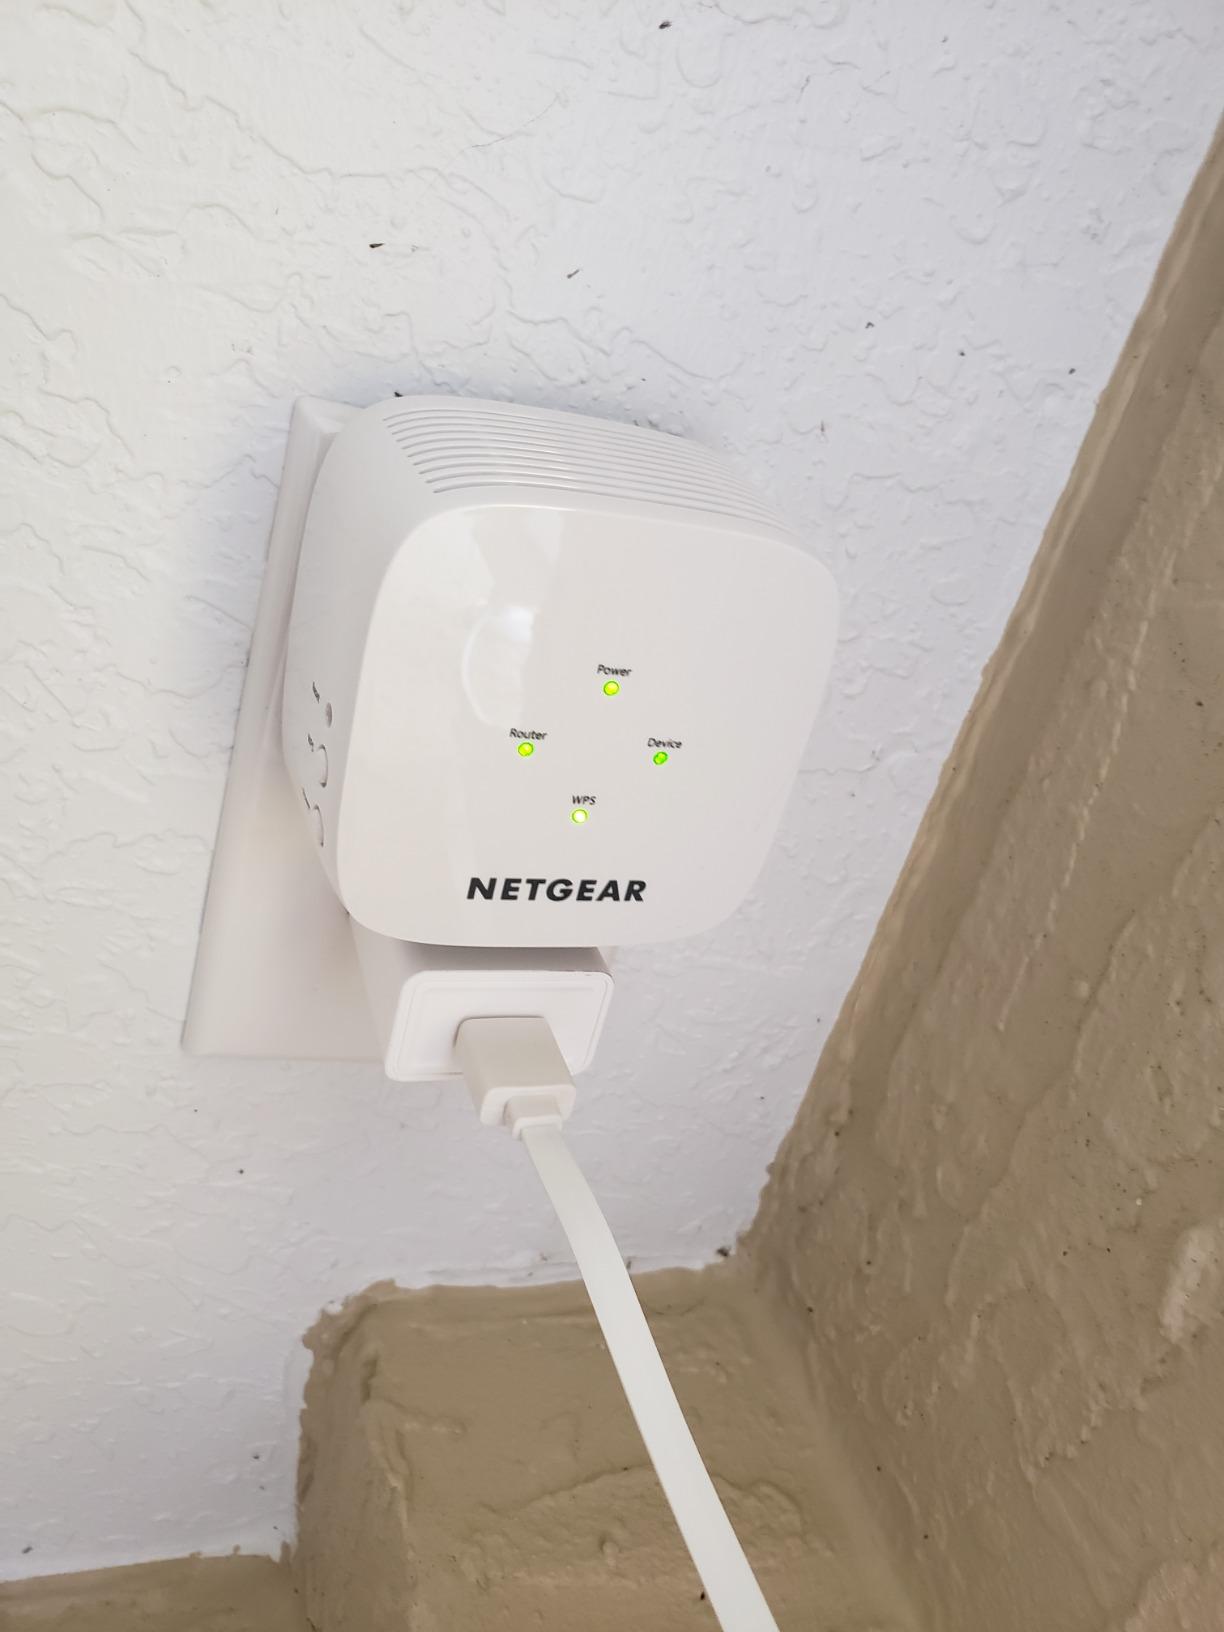
Setup is fast when WPS works, pairing in a couple of minutes and creating the extended network automatically. The Nighthawk app handles the guided route for routers without WPS, and WPA2 with WPA3 support is a genuine improvement over the older TP-Link units in this list.
The repeated complaint is speed. Owners measuring real throughput report results far below the 1.2 Gbps headline, sometimes only tens of Mbps, which is the expected outcome once you account for halving and a weak basement link. If your connection is fiber, this is the wrong tier of hardware.
Placement and setup notes for the EX5000
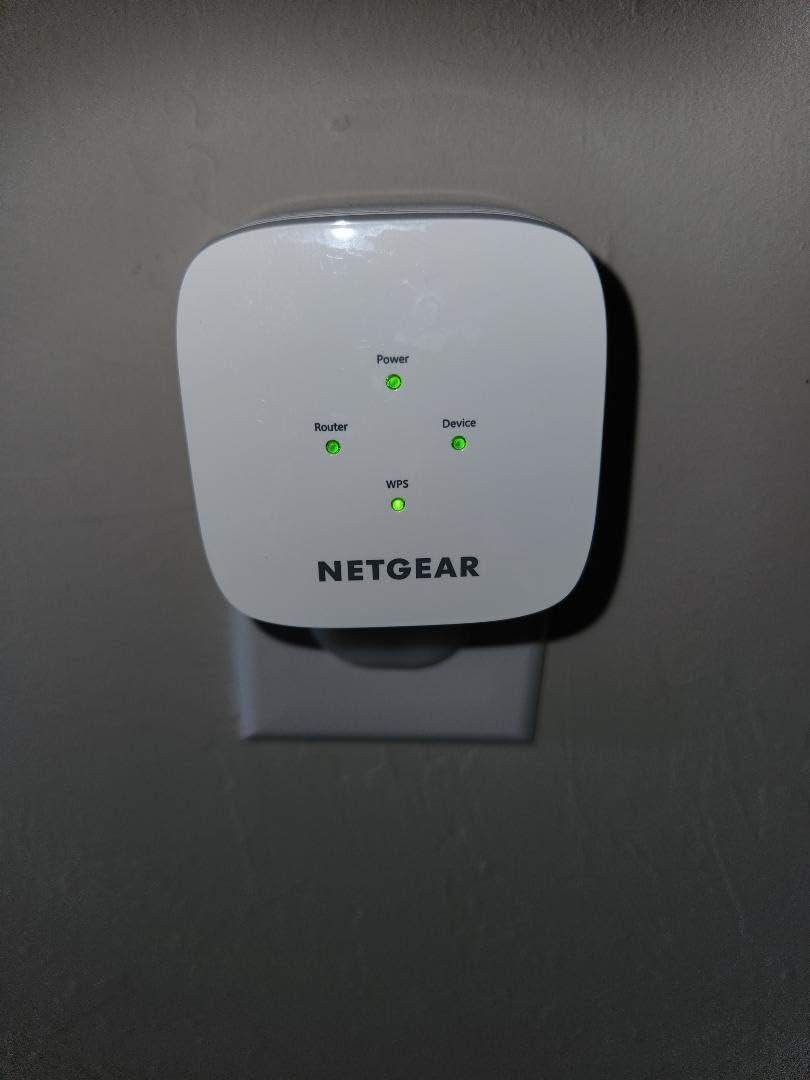
Start it at the top of the basement stairs and move it downward until performance stops improving, because the small footprint makes it easy to relocate between sockets. The manufacturer lists up to 1500 sq ft of added coverage, and in an open-plan basement that figure is closer to reality than the 5200 sq ft claim on the budget unit above.
Be ready for the app to fail. Setup friction in the Nighthawk app and in the browser interface is the most common issue, and the fallback is manual configuration through the router’s own address. Budget fifteen minutes for setup rather than five.
When it is and is not the right fit
It is the right fit for a student flat with an ISP gateway, a basement of moderate size, and a need for a unit that fits in a crowded outlet. The security support and ISP compatibility are real advantages at this price tier.
It is the wrong fit on fiber, on any connection over roughly 300 Mbps where the extended leg is your main working connection, or for anyone who is sensitive to the small share of owners who report the unit interrupting their network rather than extending it.
Where to Place an Extender in a Two-Storey Home?
Placement decides more about your basement experience than the model you buy. An extender at the right spot with modest specs will beat a flagship unit in the wrong socket every time, and the most common mistake is putting it in the dead zone instead of halfway back toward the router.
The rule is simple. Place the unit where it can still hear the router strongly, roughly 50 percent signal strength or better, and let it rebroadcast from there. An extender sitting at the far end of the basement is trying to solve a problem it cannot hear its way out of.
That means the top of the basement stairs is almost always the correct first position. It is level with the floor above, close enough to the router for a strong backhaul link, and high enough that the rebroadcast travels down the stairwell opening. The stairwell itself acts like a waveguide, which is why a unit mounted at the stairwell head outperforms one mounted on the basement wall beside it.
From there, walk a phone down the stairs in small steps and note where the extended network starts to fail. Mount the unit roughly where the signal is still usable, and test again. In a basement of 800 sq ft or less one unit at that point usually finishes the job. Above that, or with internal walls, plan on a second unit or a wired approach.
How to Get WiFi in a Basement: The Options in Order?
Work down this ladder in order of increasing cost and effectiveness. Skipping a rung usually costs you money, because a faster extender cannot outrun a bad backhaul link.
Relocate or replace the router. The cheapest fix by far. If the router is currently in a basement utility closet and the upstairs is the problem, move it upstairs. If it is already in the right place, note the model number because it caps everything downstream.
Reposition and upgrade the router. A newer dual-band or Wi-Fi 6 router with external antennas broadcasts a stronger, more downward-friendly signal than an older single-band box.
Add a WiFi extender at the top of the stairs. This is where the products in this roundup fit. Budget for roughly half your line speed on the extended leg, and choose a dual-band unit with an ethernet port.
Add a mesh system with a dedicated backhaul band. Tri-band mesh reserves one band purely for backhaul, which avoids the halving penalty that plagues dual-band repeaters. This is the recommended answer in the forums for whole-home multi-floor coverage.
Run ethernet to a basement access point. The best answer available if you can run cable. Put any access-point-capable router or switch in AP mode at the basement end and the 50 percent penalty disappears entirely. In r/HomeNetworking this is the consensus recommendation among people who have done it.
Try a powerline adapter pair. It uses your electrical wiring as the backhaul. Treat this as a fallback, not a first choice, because older knob-and-tube wiring, shared circuits and heavy basement appliances all degrade it.
Two terms matter more than any other here. Backhaul is the link between your router and the extender, and wireless backhaul costs you half your bandwidth. AP mode is the setting where a device with an ethernet port stops relaying wirelessly and becomes a plain access point, which is worth doing the moment a cable exists.
On ports, prefer gigabit but do not over-invest in a 100Mbps port. A 100Mbps port caps your extended leg at about 90 Mbps in practice, which is fine for browsing and marginal for streaming. A gigabit port costs almost nothing extra and leaves headroom.
On bands, dual-band 2.4GHz and 5GHz is the minimum worth buying for a basement. The 2.4GHz band reaches further and penetrates better, which is what you want below grade, while 5GHz is faster but weaker through structure. Tri-band is worth considering only if you already have a mesh system that uses the third band for backhaul.
On the renter question, and this matters for anyone in student accommodation: you can always buy and own the extender, but many of these steps require access to the router. If the router belongs to a landlord, focus on the options that need nothing: a unit with WPS or a standalone setup page, placed at the top of the stairs. Running cable or switching a router to AP mode needs the owner’s permission, and a landlord who does not care about the basement signal may not grant it.
On shared networks, decide deliberately between one SSID and a separate one. A separate SSID for the basement means devices will not roam automatically and you must pick a network manually, which is why OneMesh and eero options exist. A shared household where everyone knows the basement password is usually better served by a single network.
When an Extender Will Not Fix Your Basement?
There are basement situations where no extender in this roundup will work, and buying one anyway wastes money. Recognise these before you shop.
Signal is absent at the top of the stairs. If your network does not appear at all there, or reads one bar, wireless backhaul has nothing to grab. You need a wired access point, a mesh system with an intermediate node, or a powerline pair. Extender antennas cannot create a signal that is not there.
Your plan is gigabit or faster. The halving penalty on a 1 Gbps line leaves roughly 500 Mbps, and Wi-Fi 5 extender hardware eats into that further. A gigabit plan plus a wired access point is the only combination that respects what you are paying for.
The basement has poured concrete walls between the router and the space. Concrete and steel are the hard limit that experienced installers all name. When the wall itself is the obstacle, wired or powerline backhaul is the answer.
You are on old wiring and heavy appliances. Powerline adapters rely on the electrical circuit carrying data, and a basement with a dehumidifier, a washer and older wiring on a shared circuit will give you inconsistent results. This is exactly the situation the forums describe, and it is why powerline sits near the bottom of the ladder.
How to Test Your Basement Signal Before You Buy?
Ten minutes of testing will tell you which rung of the ladder you actually need, and it will tell you whether an extender is the right purchase at all.
Find the router. Look for a box with antennas, check the label for the model number, and note which rooms and floors it can physically see. If the router belongs to a landlord or housemate, ask where it is before anything else.
Test at the top of the basement stairs. Connect your phone to the main network there and read the signal strength indicator. Two bars or better means a wireless extender has a chance. One bar means you need a wired solution.
Test on the basement floor. Repeat at the far corner of the space. This is your true dead zone, and it defines how much coverage you need to buy.
Run a speed test next to the router. Record the number. Anything you get in the basement through an extender will be roughly half of it, so you can predict your outcome before buying.
Check your outlets. Basement outlets are often crowded and sometimes on shared circuits. Note which socket is free and whether a duplex receptacle will fit a bulky plug.
WiFi analyzer apps for phones will give you a channel congestion readout for both bands before you buy. A crowded 2.4GHz channel in a shared building is a common reason a basement dead zone stays a dead zone even after a good extender is installed.
Frequently Asked Questions
Do WiFi extenders work in a basement?
Yes, but with conditions. An extender works when your phone still sees two bars or better at the top of the basement stairs. Below grade, expect roughly half your line speed on the extended network, and expect less if poured concrete or masonry walls are in the path. Place the unit at the stairwell head rather than on the basement floor.
What is the best WiFi extender for concrete walls?
Concrete and steel are the hard limit for any wireless extender, and no amount of antenna power changes that. Among the units reviewed, the TP-Link RE315 and RE220 have adjustable or repositionable antennas that let you aim the signal around obstacles, but the honest answer is that a wired access point behind the concrete wall performs far better. Extenders extend a good link; they do not create one.
How do I get WiFi in a finished basement?
Start by testing signal at the top of the basement stairs with your phone. If it reads two bars or better, add a dual-band extender with an ethernet port and mount it at the stairwell head. If the signal is one bar or missing, you need a wired access point, a mesh system with an intermediate node, or a powerline adapter pair. A router relocation is the cheapest fix when the router is in the wrong part of the house.
Is a mesh system better than an extender for a basement?
Usually yes, and the reason is backhaul. A dual-band extender uses the same radios to receive and transmit, so it delivers about half your speed. A tri-band mesh system reserves a dedicated band for the link back to the router, which largely avoids that penalty and adds seamless roaming between floors. A mesh system costs more and is a bigger commitment, but it is the better long-term answer for a whole house.
Why is my WiFi extender so much slower than my internet speed?
Two reasons. First, a wireless extender splits the same radio between receiving and transmitting, which cuts usable throughput by roughly half. Second, the inbound link from your router is already weak at that distance, and a weak link degrades the outbound broadcast too. If you can run any ethernet at all, put the extender into Access Point mode and connect it by cable, which removes the halving entirely.
Final Verdict: Which WiFi Extender to Buy for a Basement
The TP-Link RE220 is our pick for most basements. It has the largest proven review record of any extender we examined, it fits a tight outlet, and its ethernet port gives you a path to AP mode that removes the bandwidth penalty if you ever get cable.
Go with the RE315 instead if your basement is larger or has internal walls, since the adjustable antennas and extra coverage area earn their place. Pick the PEDUMMY AC1200 if you are a renter who cannot reconfigure the router and need setup that works without cooperation. Choose the eero 6 add-on only if you already run eero upstairs, and the NETGEAR EX5000 if your router is an ISP gateway.
Whatever you pick, mount it at the top of the basement stairs rather than the basement floor, and test your signal before and after. That placement decision is worth more than any specification on the box.