
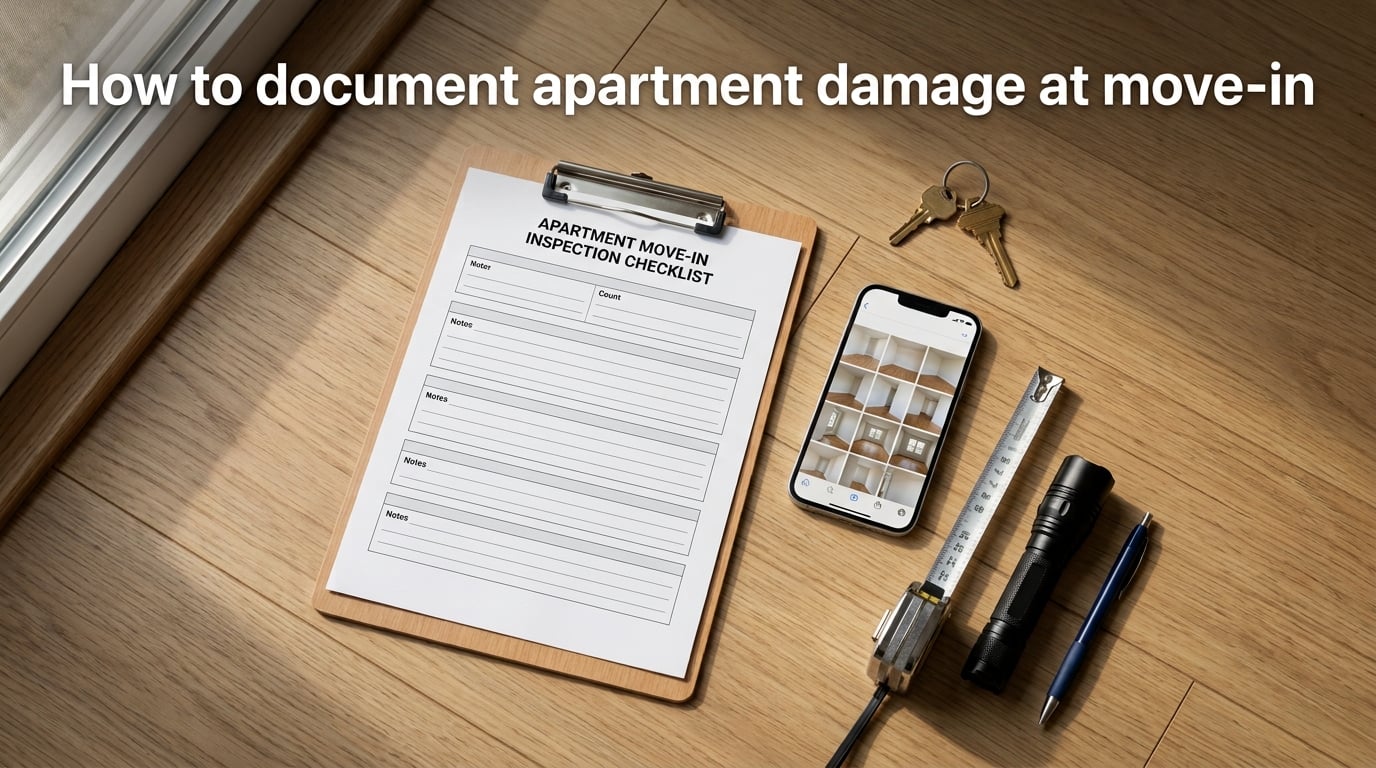
Moving into a new place is exciting, and the last thing you want to think about is a deposit fight later. That’s exactly why learning how to document apartment damage at move-in matters so much for every renter, whether you’re a first-year student or signing your tenth lease. I learned this lesson the hard way when a landlord tried to charge me for a stain that was already on the carpet when I got the keys. A 15 minute walkthrough with photos would have saved me hundreds of dollars and a month of back-and-forth emails.
Here is the short version – the seven steps you’ll repeat every time you move in:
- Bring a phone with the date, location, and EXIF settings turned on.
- Walk the apartment room by room with your landlord if possible.
- Record video with voice narration that names the room, the date, and any flaws you see.
- Take 10 to 20 date-stamped photos of every wall, floor, fixture, and appliance.
- Fill out a move-in inspection checklist with specific descriptions like “6 inch scratch on lower left side of refrigerator.”
- Have both you and your landlord sign and date the form, then email a copy to each other with read receipt on.
- Back up everything to cloud storage the same day and keep a copy for at least 12 months after you move out.
This guide expands each step, gives you a copyable room-by-room checklist, and shares the specific phrases that win deposit disputes. If you only have five minutes, the numbered list above is the core process. If you have twenty minutes, the rest of this article will help you do it like a pro.
Table of Contents
Why documenting apartment damage at move-in protects your deposit
Documentation is the single most effective way to protect your security deposit. Without it, your landlord can argue that the scuffed wall, the chipped countertop, or the cracked window pane happened on your watch. With it, the dispute usually ends before it starts.
On r/LegalAdvice, renters who lost deposit disputes almost always share the same regret: they trusted their memory instead of taking timestamped photos. On r/ApartmentHacks, renters who won disputes almost always had three things – a signed move-in inspection form, a folder of cloud-backed photos, and a written repair addendum for any pre-existing damage.
Think of the move-in walkthrough as creating a baseline. Every issue you record on day one is an issue your landlord cannot bill you for on moving day. Every issue you forget to record becomes a potential charge.
The other reason it matters: many leases include a “joint inspection” clause that actually requires both parties to walk the property together. Skipping it can void protections you’d otherwise have under state tenant law.
Before move-in day: what to bring and how to prepare
Good documentation starts the night before, not the moment you walk through the door. Here is the prep list our team uses for every move-in inspection, and the same checklist I share with student clients each fall.
- Phone charged above 80 percent, with cloud photo backup turned on in settings.
- Date, time, and location services enabled so each photo carries verifiable metadata.
- A printed or PDF move-in inspection checklist, plus a spare copy for your landlord.
- A flashlight for under cabinets, behind toilets, and inside closets.
- A measuring tape so descriptions like “6 inch scratch” are accurate.
- A pen that won’t smudge, since both copies of the form need clean signatures.
- A friend or family member who can serve as a witness and, if needed, a future court witness.
- Renter’s insurance already in place, with the policy number saved in your phone.
If your landlord sent a move-in condition report ahead of time, download it and review it line by line before you arrive. Anything vague on that form is where you should slow down on the day.
How to do the joint move-in walkthrough with your landlord
The walkthrough is the heart of the move-in inspection. Plan for 45 to 90 minutes for an average one-bedroom unit. Less than that and you’ll miss things. More than that and you’re being thorough, which is exactly what you want.
Start at the front door and move clockwise through every room. In each space, pause long enough to inspect four zones: floor, walls, ceiling, and fixtures. Then move to appliances, cabinets, and any built-ins. Keep your camera rolling for the entire walkthrough if you can – it creates an unbroken timeline that’s hard to dispute later.
For each item on the checklist, read it out loud and let your landlord confirm or correct the condition. Ask them to initial each line, not just sign at the bottom. Reddit users in r/ApartmentHacks report that per-line initials are the single detail that wins most disputes, because they prevent a landlord from later claiming a section was never reviewed.
If you find damage, describe it on the spot in plain language. “3-inch crack on lower right corner of oven door” is the kind of entry that holds up. “Oven – fine” is the kind that loses deposits.
How to take photo and video evidence that holds up in a dispute
Not all evidence is equal. A photo with no date is just a photo. A photo with date, time, GPS coordinates, and cloud backup is evidence a judge will take seriously. Here’s how to make sure yours lands in the second category.
- Enable EXIF metadata on your phone – iPhone users keep “Location Services” on for Camera, Android users toggle on “Location tags” in Camera settings.
- In your first 5 photos, include a newspaper, a bank statement, or a screen showing today’s date. Rentcafe specifically recommends this trick to anchor your timeline.
- Film a continuous video walkthrough with voice narration – name the room, the date, and any flaws as you pan slowly.
- Upload every photo and video to Google Drive, Dropbox, or iCloud the same day, before you unpack a single box.
- Keep a screenshot of your phone’s photo gallery showing the original dates – courts and arbitrators often ask for this secondary proof.
One more tip from r/LegalAdvice users: text or email the photos to your landlord on move-in day with a short note like “Hi [name], here are today’s photos of [unit number]. Please confirm receipt.” That sent-and-received timestamp is gold when a dispute reaches small claims court.
How to fill out and sign your move-in inspection checklist
The move-in inspection form is the document both parties will reference at move-out. Treat it like a legal contract, because that is effectively what it is.
For every room, write down four things: a description of the area, the condition you observed, any specific damage with measurements, and your initials plus the date. If a room is in perfect shape, write “no damage observed” rather than leaving it blank – silence is the most disputed entry on every inspection form.
Here are good versus bad damage descriptions, taken straight from real Reddit threads:
| Bad (too vague) | Good (specific, measurable) |
|---|---|
| Kitchen – OK | 2-inch chip on front-left edge of countertop near sink |
| Bathroom – fine | Mildew stain on ceiling tile above shower, roughly 4 inches across |
| Carpet – normal wear | Dark stain in southeast corner of living room, about 6 inches wide |
| Walls – good | Three nail holes in north bedroom wall, plus scuff mark at doorframe height |
| Window – works | Crack in upper-left pane of living room window, hairline, roughly 3 inches long |
When you finish, sign and date the form yourself, then have your landlord sign and date it. Each of you keeps one copy. Email a third copy to yourself so it has a server-side timestamp.
How to address pre-existing damage in writing with a repair addendum
Your move-in checklist records what is broken. The repair addendum records who fixes it, when, and who pays. Without this second document, a landlord can acknowledge damage today and blame you for it tomorrow.
A simple repair addendum includes the item, the agreed fix, a completion deadline, and a signature line for both parties. For example: “Landlord agrees to repair the cracked bathroom tile by [date 30 days out]. Tenant will not be charged for this repair at move-out.”
Send the addendum to your landlord as a lease attachment, not just a chat message. Email it, request a read receipt, and save the thread. If your landlord agrees verbally but won’t put anything in writing, that itself is a signal worth documenting in your notes.
California renters have one extra protection worth knowing: state law gives you the right to a joint inspection within a defined window after move-in, and landlords must respond to repair requests within specific timelines. Local tenant unions publish the exact deadlines each year.
How to organize and store your documentation for move-out comparison
Move-in documentation only pays off if you can find it again 12 months later, on moving day, when emotions run high. Set up one folder the day you move in, and your future self will thank you.
Create a single folder – call it “[Unit number] – Move Records” – and inside it store five files: the signed move-in checklist, your photo library, your video file, the repair addendum, and a PDF of all related emails. Put one copy in the cloud and one on a USB stick or printed binder. Two locations, one folder name.
When move-out day arrives, reuse the same checklist format. Walk the apartment in the same order, photograph the same five zones per room, and compare your findings line by line. Damage that matches your move-in record is pre-existing. Damage that does not is yours to discuss. That side-by-side comparison is what closes 90 percent of disputes without anyone filing a claim.
The most commonly overlooked damage to check at move-in
Most renters check the obvious: walls, floors, big appliances. The disputes that drain deposits usually start in the spots people forget. Walk slowly through this list before you sign anything.
- Smoke and carbon monoxide detectors – test the button on every unit, not just the hallway one.
- Behind and under every large appliance – pull the refrigerator out at least 6 inches and photograph the wall and floor.
- Inside every cabinet and drawer – open each one, run each drawer, check the slides.
- Window screens, tracks, and weather stripping – look for tears, gaps, and bent frames.
- Caulking around tubs, showers, and sinks – press it gently to check for soft spots or mold underneath.
- Carpet edges under planned furniture placement – lift a corner and look for stains that will be hidden by your sofa.
- Outlets and switches – plug in a phone charger to confirm power, look for scorch marks.
- Closet floors and ceilings – often skipped because of low light; bring that flashlight.
Put every little thing on the form, yes. The thinking that “it’s so small, it’s not worth mentioning” is exactly how small things add up to lost deposits at move-out.
What to do if your landlord refuses the move-in walkthrough
This is the most common Reddit pain point in r/renting and r/Landlord. A landlord who says “just sign the form, we’ll skip the walkthrough” is not doing you a favor – they are removing your chance to build a baseline record. Here’s how to handle it without burning the relationship.
- Politely insist once in writing: “I’d like to walk the unit together to verify condition. When works for you this week?”
- If they decline, document the unit yourself with the same photo and video process, then email the landlord the same day.
- Save every email response, including read receipts and out-of-office replies, in your records folder.
- Send a written summary of pre-existing damage within 48 hours, with photos attached, and request confirmation.
If the landlord never engages, you still have a defensible position at move-out because you created the record yourself, on the day you took possession, with verifiable timestamps. That is exactly the evidence small claims courts want to see.
Frequently Asked Questions
How do I document damage on an apartment move-in checklist?
Walk the apartment room by room with a printed checklist and your phone. For each item, write a specific description with measurements, take 10 to 20 date-stamped photos per room, and have both you and your landlord sign and date the form. Email a copy to your landlord with read receipt requested, and back everything up to cloud storage the same day.
What should I look for in a bathroom during an apartment walk-through?
Check caulking around the tub and sink for soft spots or mold, run water in both sinks and the shower to confirm pressure and drainage, flush the toilet and watch for leaks at the base, look under the cabinet for water stains, and test the exhaust fan. Photograph any discoloration on the ceiling tile above the shower, since moisture damage is the most common disputed issue.
How do I inspect appliances before signing an apartment move-in checklist?
Run every appliance through at least one full cycle. Test the stove burners and oven, run the dishwasher, run the washing machine and dryer, open and close the refrigerator and freezer, and confirm the microwave powers on. Pull each one out a few inches to check the wall and floor behind it, and photograph the serial plates so you can match appliances at move-out.
What should a move-in checklist say about windows and doors?
Record the condition of every pane of glass, the screen, the track, the weather stripping, and the lock. Note any cracks, tears, bent frames, or missing parts. Open and close each window and door to confirm smooth operation, and check for drafts that might indicate failed seals. A photo of the date-stamped lock or handle anchors the record.
What is the most overlooked item on an apartment move-in checklist?
Smoke and carbon monoxide detectors. Most renters forget to press the test button on every unit, not just the hallway one, and forget to record the manufacture date on the back. A dead battery or an expired detector at move-out can be blamed on the tenant if it is not in the move-in record.
What should I do if I find problems before I sign the checklist?
Stop, write the issue on the form with measurements and photos, and ask your landlord to confirm in writing before you sign. For any repair, request a written addendum that names the item, the fix, the deadline, and the responsible party. Do not sign the form until every pre-existing issue is captured, because signing effectively says you accept the unit as documented.
Can an apartment charge you for damages after you move out?
Yes, landlords can deduct from your security deposit for damage that goes beyond normal wear and tear, but they must provide an itemized list with receipts or estimates within the deadline your state sets. A signed move-in inspection form with timestamped photos is your strongest defense against any charge that predates your tenancy.
Does a landlord have to provide proof of damages?
In most states, yes. Landlords typically must supply an itemized statement of deductions along with copies of receipts, estimates, or invoices for any repair or cleaning charge. If they cannot provide that documentation, the deposit usually has to come back to you in full.
Final checklist: protect your deposit before you unpack a single box
If you remember nothing else from this guide, remember the seven-step list at the top: prep your tools, walk with your landlord if possible, record video, take timestamped photos, fill out the checklist with measurements, get signatures, and back up everything the same day.
Knowing how to document apartment damage at move-in turns move-in day from a chore into your single best protection against losing your security deposit. Print the table above, walk through it on your next move-in, and email yourself a copy before you start unpacking.